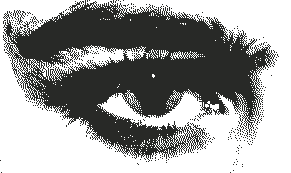
Making dithered art
29 de Julio de 2022
Algo que me encanta hacer es encontrar esos pequeños rincones de internet donde alguien ha creado una página web personal desde cero. Me refiero a esas páginas que para estándares de hoy en día serían vistas como cutres, anticuadas o, simplemente raras.
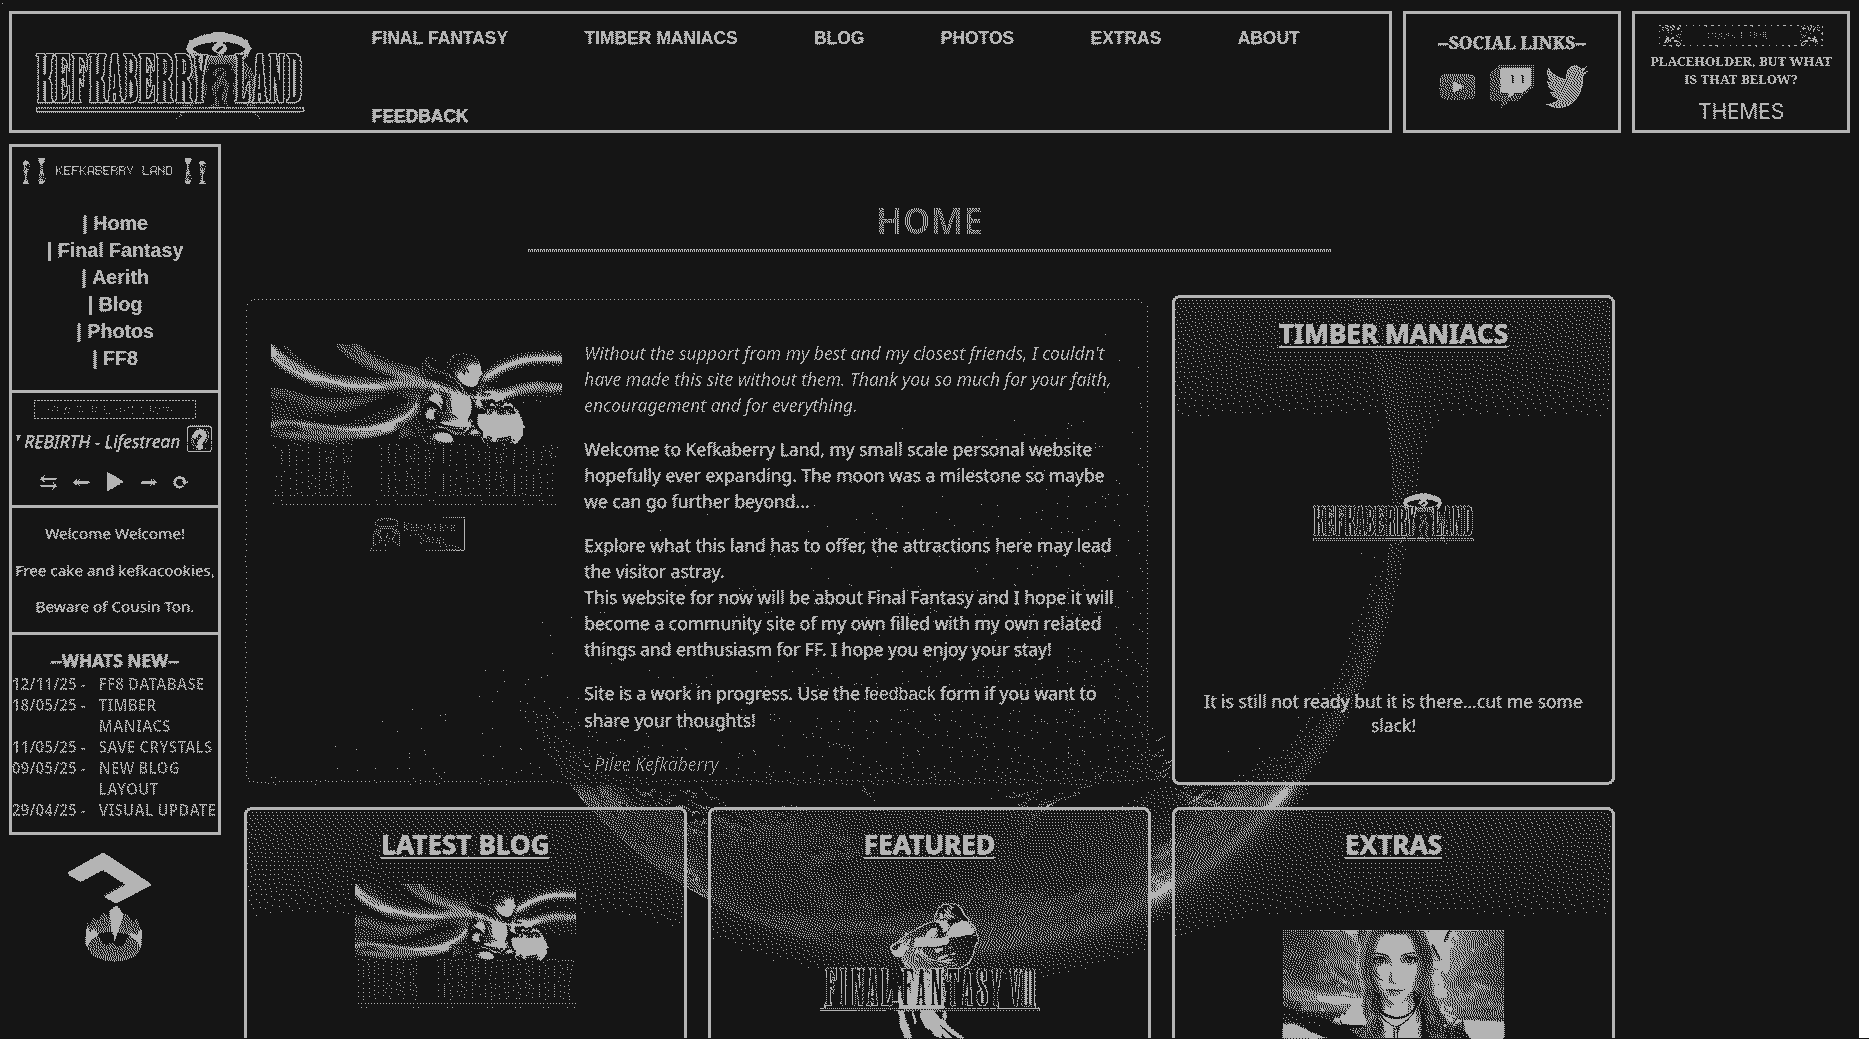
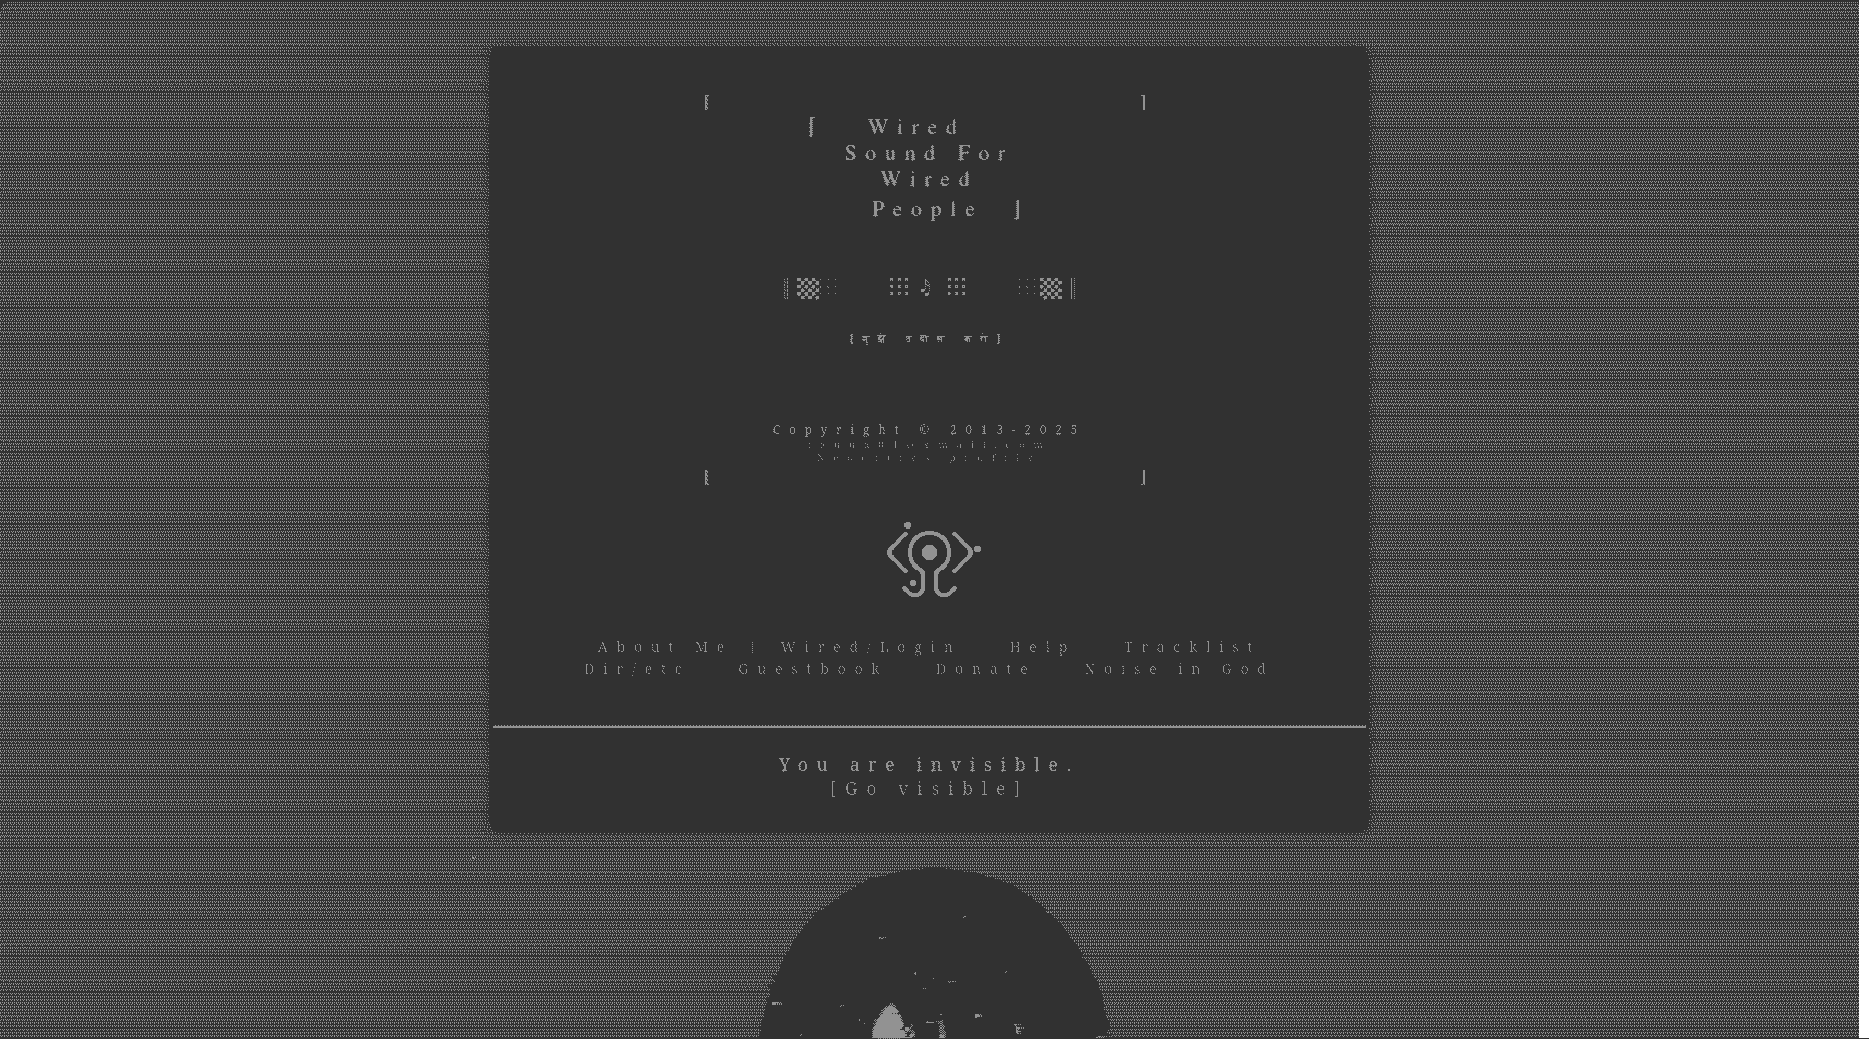
Sin embargo, creo que son creaciones muy personales y francamente interesantes. Tienes a gente que se dedica a contar su vida en un blog. Gente que simplemente quiere tener su página con un estilo de principios de siglo. Y otra gente quiere tener un sitio donde contar chorradas sobre distintos temas.
El caso es que hay uno de esos blogs con una imágen de fondo que impactó. Supongo que en gran medida porque me gusta este estilo melancólico. En la imágen se ve a una persona La imágen de fondo con una capa, aparentemente un monje, en un puente de piedra.
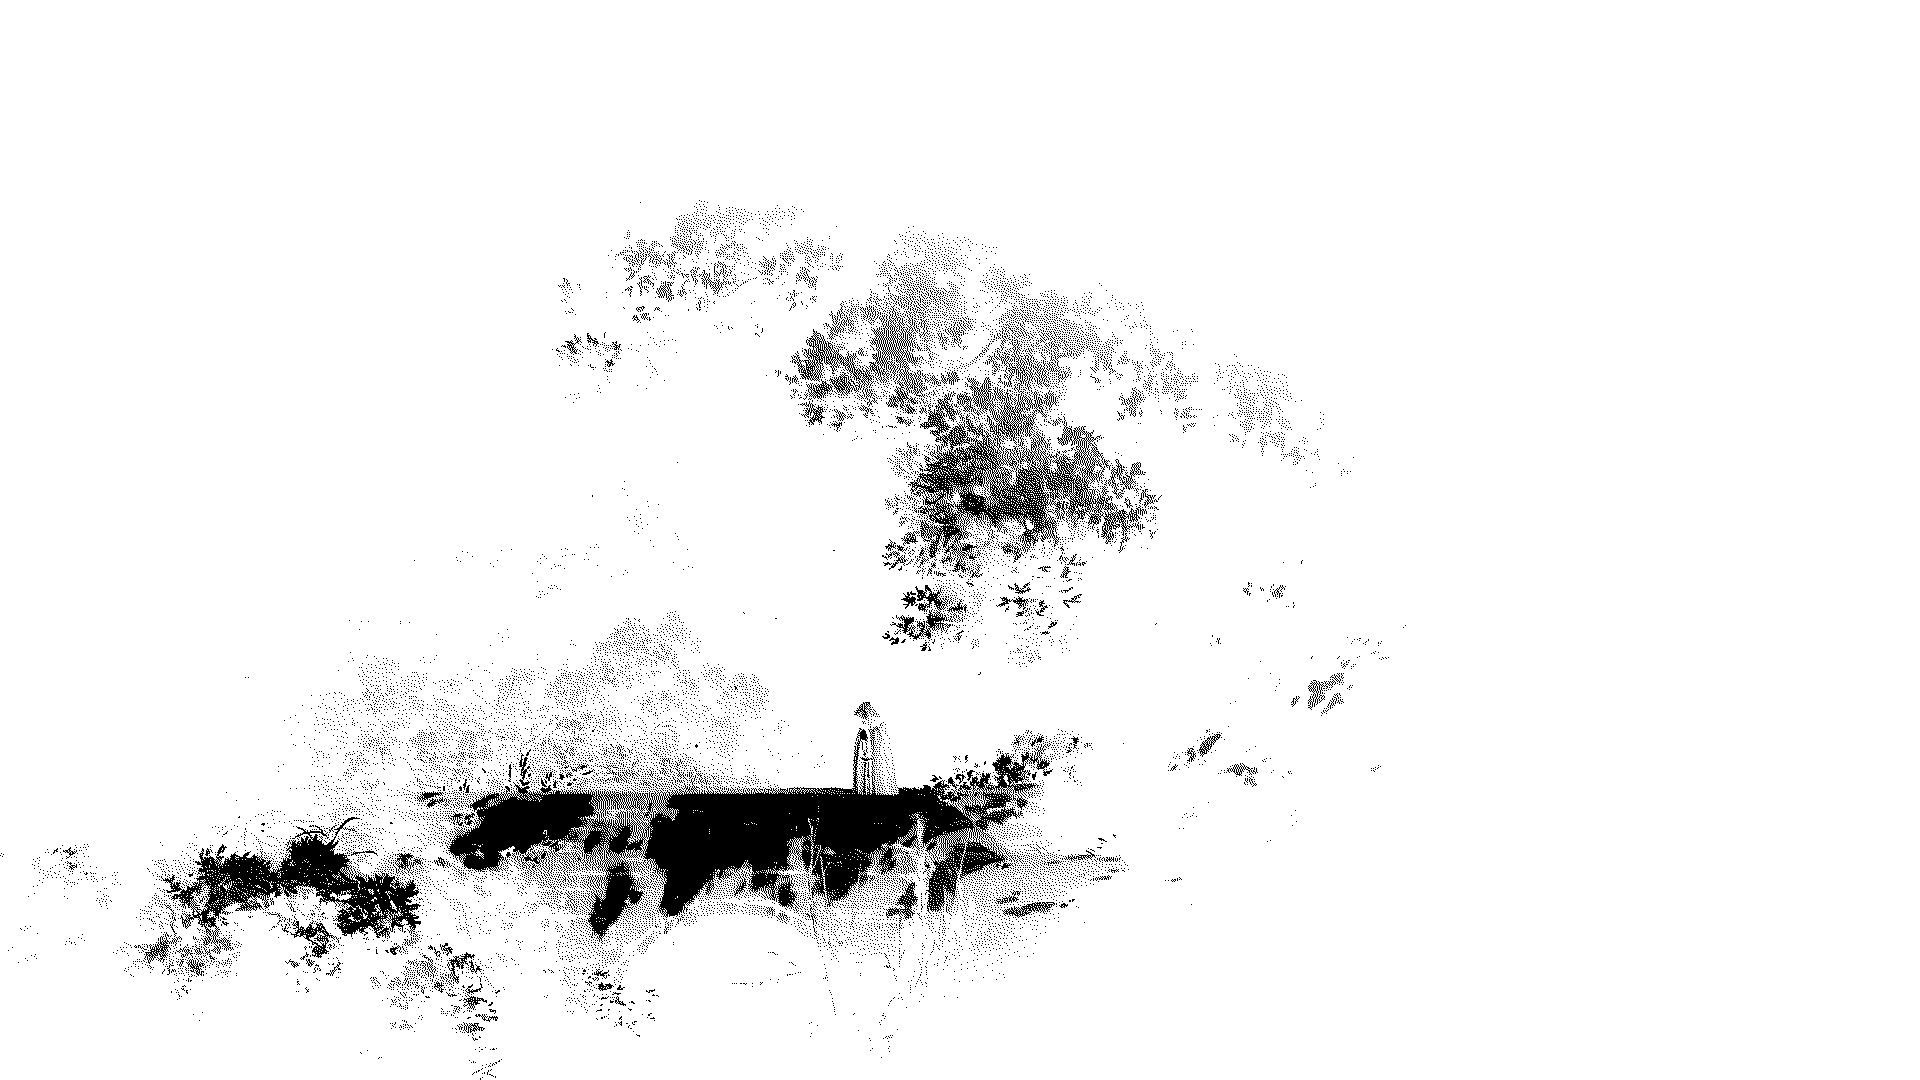
El blog es el de meth.cat. El autor del blog comentó en una de sus entradas que había aprendido a hacer este estilo de imágenes gracias a nixx, autor de otro blog del estilo. A mí, desde luego, me encantó ese estilo de modificar las imágenes. Años más tarde, se han convertido, espero, en una de las señas de identidad de este “periódico”. Dejo aquí la entrada original de Nixx, dado que su blog ya no esta en línea.
Aviso
Este contenido lo escribió nixx en su blog concealed.world. Como me gusta hacer que las imágenes se vean así, quiero guardarlo aquí (sobre todo desde que el blog no esta disponible). Esto es un copy-paste directo del blog. Yo no soy su autor. La versión original incluía imágenes, pero no he sido capaz de obtenerlas.
I thought I’d talk about how I make the dithered backgrounds and graphics on this site, as it’s actually quite easy. High resolution, high contrast images are recommended.
For this, I’m using GIMP, available there or within almost any Unix-like’s repository. These aren’t necessarily complex actions however, so a similar method likely applies to other editors. I would bet on there being even a way to automate it with imagemagick I’ve not bothered to learn yet.
When you have the image you want at the scale you want, go to ‘Image > Mode’ and select ‘Indexed’. Inside this menu, under ‘Colourmap’, select ‘Generate Optimum Palette’ and choose 2 colours (for monochrome images, like my backgrounds - feel free to play around with more). Under ‘Dithering’, I generally prefer ‘Floyd Steinberg (reduced colour bleeding)’ - try the others to see the effects.
Because the two colour palette should be a mean of the two most common colours on the image, you may or may not be happy with the colours you find. You can change these colours fairly easily though. Go back to ‘Image > Mode’ again and return the image to ‘RGB’ - releasing the image from being stuck in only two colours. Go to ‘Colours > Map’ and select ‘Colour Exchange’ to universally switch one colour with another. Or select ‘Colour > Colour to Alpha’ to make a colour transparent - set the opacity threshold to 0.
Here’s one I made just for the sake of this example: Example Dithered Art
I recommend exporting them as a gif - as a jpg loses fine detail, and a png isn’t as well suited for this kind of compression. Inspirations
I was partially inspired by the work of Mattis Dovier - although what he does looks much better than mine, and I could guess he does much more of his work manually. Credit where due for both. Mug and Black Fluid Smashing Mug
And of course, by Fauux: Greek Statue Extras
Under ‘Filters’, there is ‘Blur’ and ‘Distort’, which host a variety of interesting tools to play with, including pixelisation and video degradation effects. I took my last example a bit further to prove the point: Second Example
Additionally, by exporting your image as a bitmap, you can edit it much more manually. Bitmaps can be edited in a text editor, and in Audacity, provided you skip past the first few percent of the image’s data (the header). It’s difficult to accurately control, but creates very interesting results.